Saturday 22 November 2014

3D Printer and BOWDEN EXTRUDER

Hah...

Lame dah tak berblog so harini nak update blog skit. Macam2 projek sekarang, bz sangat, nak apply geran tu, nak apply geran ni...

Nak buat quadcopter, handrobot dan macam2 la. Alhamdulillah 3D printer pon dah ok, takde masalah besar dan boleh dah nak print..


ni lah hasil mahsul 3d printer tersebut tersebut tapi quality masih jauh dari perfect. So tak pasti sekarang nih same ade masalah extruder ataupon masalah material so sekarang nak tukar material baru dan/atau nak tukar extrude. 

Bab extruder nih ade macam2 jenis, ade BOWDEN extruder, WADE extruder dan mcm2 lagi. Skang ni nak belajar BOWDEN extruder sebab sat gi nak pakai untuk printer baru. So ini yang dapat aku cari...

http://start3dprinting.com/2013/07/what-is-a-bowden-extruder/

The direct extruder is more common, and it’s easier to explain the Bowden variant in terms of its differences. Let’s start with a diagram of a direct extruder (from the RepRap wiki):
320px-Extruder_lemio.svg
(Source: RepRap.org wiki)
The diagram above illustrates the workings of a typical, DIY extruder. A geared motor pulls filament, driving it into the hot-end for melting. The feature of note is that the extruder motor is directly above the hot-end (or at least very close.) A direct extruder will often look something like this:

The Bowden Extruder

For a Bowden extruder, we modify the diagram to be more like this:
bowden diagram
…and in practice, you’ll see something like this:
bowden extruder
(Image source: thing:29834)
…with the tube connected to the hot-end. The over-all look is like this (a Bowden-modified Printerbot Jr):
bowden printerbot jr
(Image source: thing:26963)

Why go Bowden?

There are pros and cons to both configurations, but the main reason people use a Bowden style extruder is to reduce the weight of the moving components. With the heavy stepper motor off in a fixed position, the hot-end can be moved with less force, generally allowing for faster speeds.

Where the name “Bowden” comes from

The Bowden extruder gets it’s name from its similarities to the Bowden cable:
bowden cable(Image source wikipedia)
If you’re familiar with a mechanical throttle cable or a wire bicycle brake cable, these are Bowden cables. Bowden cables are used to transfer mechanical action from one point to another. (Think brake-lever to brake-caliper.) With a 3D printer, a Bowden extruder uses its tube to guide a filament wire, transferring the force of the extruder motor into pressure in the hot-end. However, since the filament is a consumable, the mechanics aren’t quite the same. Unfortunately, I don’t know of a better name, and “Bowden” has traction, so that’s what we’re stuck with. Either way, you now know what it is.
(copy and pasted from the link above)
Cam kelakar je camane BOWDEN extruder ni dapat name

Saturday 13 September 2014

3D Printer : EXTRUDER HOT END ( Mari belajar sama-sama)

Salam dan selamat pagi

Hari ni moh kite belajar pasal 3D Printer, khusus kepada EXTRUDER... Malas nak cerita panjang, straight to the point jer...
Antara bahagian yang penting dalam 3D printer. Kat bawah ni ade contoh 3D Printer dan skematiknya sekali...

Rajah 1 : Extruder dalam bulatan merah (ade macam2 jenis)


Rajah 2 : Macam mana konsep extruder ni....

Ok, Kalau korang tengok kat rajah 1 & 2, tulah namenye extruder. Extruder ni antara anggota penting dalam 3D printer... kalau takde mende ni tak jalan la 3D Printer. Konsepnya agak senang tapi praktikal agak leceh sedikit... senang citela, extruder nih pakai konsep KUIH SEMPERIT atau MARUKU atau dot dot dot... hari hari mau bikin la itu dot dot dot... kalau tak nak bikin pon, sampai mase terpakse bikin juga...

Ok, senang gini la... aku listkan barang-barang dalam extruder ni lepastu tuliskan apekah peranan masing masing.
  1. STEPPER MOTOR : Adalah motor (Silver -Hitam - Silver) digunakan untuk menggerakkan FILAMEN ke dalam HOT END. Boleh dikawal guna MICROCONRTROLLER. EXTRUDE dan RETRACT.
  2. FILAMENT- Bahan Plastic (biasanya PLA @ ABS) yang macam lidi tapi boleh digulungkan dalam roll.. yang ni adalah bahan asas yang akan digunakan untuk print (kalau printer biasa, kite gunakan INK)
  3. DRIVE GEAR : Akan discrewkan kepada syaf Stepper motor (Shaf size 5.0 mm untuk Stepper Nema 17). Gear ini akan digunakan untuk menarik masuk FILAMENT ke dalam HOT END
  4. BEARING: Untuk support FILAMENT supaya GEAR boleh grip  FILAMENT
  5. SILVER COLUMN : Untuk pastikan FILAMENT dimasukkan secara lurus
  6. HEAT SINK dan KIPAS: Untuk pastikan FILAMENT sebelum masuk SILVER COLUMN kekal sejuk sebab kalau dah lembik sebelum masuk, camne nak masuk?
  7. HEATER ELEMENT : Elemen pemanas untuk tukarkan tenaga elektrik kepada tenaga haba
  8. TEMPERATURE SENSOR : Untuk ukur suhu HOT END dan kawal suhu berdasarkan jenis FILAMENT
  9. HOT END/BLOCK : Untuk menyebarkan haba kepada FILAMENT dari HEATING ELEMEN
  10. NOZZLE : Control saiz FILAMENT yang dah cair yang akan di semperit, ade banyak saiz, 0.2, 0.3, 0.4 dan 0.5 mm, tapi yang paling fofular ialah 0.4 mm
THEORY macamane proses EXTRUSION ni..(aku kopipes je la)


Theory of plastic extrusion 3D Printing
  1. The filament is pushed down by the drive gear, pushing the filament into the hot end. 
  2. Because the extruder gets very hot, the heat easily travels up the silver column and would soften the filament. However we don't want that to happen.  
  3. The fan blows cold air onto the heat sink, so the heat sink deflects the heat from the upper part of the silver column and the filament stays rigid.  
  4. The rigid filament pushes down on the molten filament and also creates a pressure or force on the molten filament, thus extruding it out of the tiny hole in the nozzle.  
  5. Without this pressure or force, you would not be able to print. You would be able to extrude as there is no model or platform in the way when you do this. e.g. The model or platform slightly blocks the nozzle during printing, thus a fair amount of force is required to extrude during printing and hence the filament is squished out flat onto the model or platform. 
The concept is like icing a cake, you need to put pressure on the bag to extrude out of a tiny hole.


Antara masalah masalah printing yang disebabkan oleh extruder 


Air Printing Causes
The term air printing comes from when the printer is performing the action of printing but nothing is coming out of the nozzle. The biggest cause of air printing is NOT a blocked nozzle, but rather a build up of plastic dust around the drive gear.


Causes and Solutions
Dust around drive gear
Watch this video on how to clean the drive gearhttps://www.youtube.com/watch?v=KTRe3kAjsAs&feature=youtu.be  
Parts warping
A warping print can create a blockage against the nozzle and will cause the flow of plastic to be blocked.
Platform to close to the nozzle
If the nozzle is scraping on the platform it's too close and will cause the flow of plastic to be blocked.
Broken piece of plastic in the silver column
Open the head up, as per above video and check for a broken piece
Carbon build up on inside walls of silver column
Remove nozzle, then use a 1-1.5mm drill bit with your hand and try and scrape out the walls of the silver column.
Carbon build up inside nozzle
Remove the nozzle and soak in acetone or burn with a flame.
 Contoh barang yang aku dah print, tapi cam ade masalah skit

Rajah 3: Mesin 3D Printer tersebut


Rajah 4 : Barang yang telah di print

RAJAH 4 ni ade masalah sikit, maybe sebab kipas aku tak on or maybe STEPPER tak cukup torque... takpelah, nanti aku cek balik...


Sekian untuk rujukan bersama..


Tuesday 19 August 2014

3D Printer (Pencetak 3 Dimensi)

Salam dan selamat petang

FUH!!!! dah lame gile aku tak berblogging.... tetiba rase nak taip blog harini... Bz sangat kot... Setiap hari terlalu banyak projek yang bermain di fikiran.. nak buat itu, nak buat ini, alih2 dah dekat 5 bulan aku tak berblogging... Ini cik Arduino punye pasal la nih.... tersangat banyak projek... huhuhu...

FYI, projek siraman pokok sendiri dah siap since sebelum hari raya lagi. dan hasilnya sangat memberangsangkan.... setelah seminggu pokok-pokok sayur depan rumah dibiarkan tanpa tuan, Alhamdulillah since balik, pokok2 tu segar-bugar.... takde yang mati kekurangan air... semuanya berjalan lancar... nanti nak masuk competition Green Innovation di SWISS garden Kuantan 26 August 2014 ni... saje2 je cube nasib... mane tau ade rezeki menang la... kalau takde cube lagi competition lain

Tapi, post ni bukan nak cite pasal projem siraman automatik, tapi lebih kepada nak sembang pasal projek terbaru iaitu 3D printer ( Pencetak 3 Dimensi ) yang mana telah lame famous di overC dan baru fames kat malaysia sejak tahun lepas. Kat malaysia pon dah ramai org buat 3D printer sendiri so aku pon nak buatlah...

Kalau nak tau pasal 3D printer, boleh google RepRap atau taip je 3D printer. Dengan adenya makluk ni, macam2 mende yang korang boleh buat, untuk kegunaan DOMESTIK, INDUSTRI hatta RESEARCH dan PENDIDIKAN boleh... Kat sini aku nak tunjuk sikit progress 3D printer aku ni...yang menggunakan Aluminium frame... harap2la siap minggu ni nanti boleh tunjuk kat SWISSGARDEN. nanti, tunjuk kat budak2 sekolah...hehehehe... harap2 la... sekang ni pindah kat FKP tumpang guna 3D printer kat sana sebab 3D printer juga dikenali sebagai SELF REPLICATING MACHINE (mesin yang boleh buat diri sendiri), tapi kene ade tangan manusia lah yang membuatnye... Berikut adalah gambar2..
Ni la 3D printer yang aku pinjam untuk buat 3D Printer sendiri

This is Z axis holder for Nema 17/23.. printed


Yang atas tu arduino mega dan bawah tu RAMPS (Reprap Arduino Mega Pololu Shield)


Yang ni stepper motor nema 17/23 untuk control axis movement (X,Y,Z, E (Extruder))

Yang ni frame die (tiru Haeckel design)

Kalau dah siap 3D printer nih, macam2 la barang/projek yang aku boleh buat... Quadcopter la, Dron la, Robotla... pendek kate macam2la... hope sempat siap dalam minggu ni atau sebelum student masuk... nanti bile student masuk, bz nak ngajar pulak..

Monday 26 May 2014

Hobby aku : COWBOY and MONEY OPPORTUNITY

Aku sangat suke ngan COWBOY, kalau dalam seminggu kalau tak singgah tak sah !!!!... Aku boleh duduk dalam COWBOY sampai 2 3 jam semata-mata nak melihat barang hardware... kira cam shop-a-holic jugak la. Banyak masa dan duit aku korbankan di COWBOY. Kenape aku suke sangat COWBOY???, sebab macam2 barang hardware ade kat situ.... Murah2 pulak tuh... kualiti ikut nasib la tapi memang sangat jarang aku dapat barang DEFECT.. Very very very rare...

ok, sebagai COWBOY fans, aku nak listkan kat sini, sebenarnya kat KUANTAN shj ade 4 COWBOY, yang aku tau,
COWBOY LAMA JALAN WONG AH JANG


1: COWBOY BATU 7 (AREA TAMAN TAS)
2: COWBOY JALAN WONG AH JANG (LAMA)
3: COWBOY JALAN WONG AH JANG (BAHARU)
4: COWBOY JALAN BUKIT SEKILAU (TERBARU)

Kat Temerloh ade satu

Cuma masalahnya aku selalu lost terutamannya nak cari barang. Andaikata ade APPS yang boleh tunjukkan barang yang aku nak cari, nescaya 50% masa aku dalam COWBOY boleh dikurangkan. Tak perlu lagi tanye cashier/pekerja COWBOY berkenaan lokasi barang yang aku nak cari. Sebenarnya, sekarang ni nak buat APPS tak susah, boleh guna MITAPPINVENTOR..Senang sangat2, tutorial berlambak kat YOUTUBE. Yang paling senanng, ikut tutorial camne nak kasi kucing bunyik miaw... senang je, tapi nak kene paham ENGLISH ler. Tapi app ni limited, tapi kalau boleh buat  memang hebat la, boleh propose kat GIANT, TESCO dan sebagainya pastu approach dan jual kat dieorang. Zaman skang ni senang sangat nak buat duit kot...cume kena pandai "Main air liur".... sape bran, boleh buat tajuk Projek Sarjana Muda.. MEKANIKAL ngan SC COMP boleh guna buat tajuk nih...


Update (2nd) Projek siraman tanaman pokok automatik...


Yang ni testing solenoid valve, 12 Vdc guna manual switch on.... works perfect with Adjustabe adapter

Update DIY Table top...

Ok, ini adelah update projek DIY table top... let the picture speak...


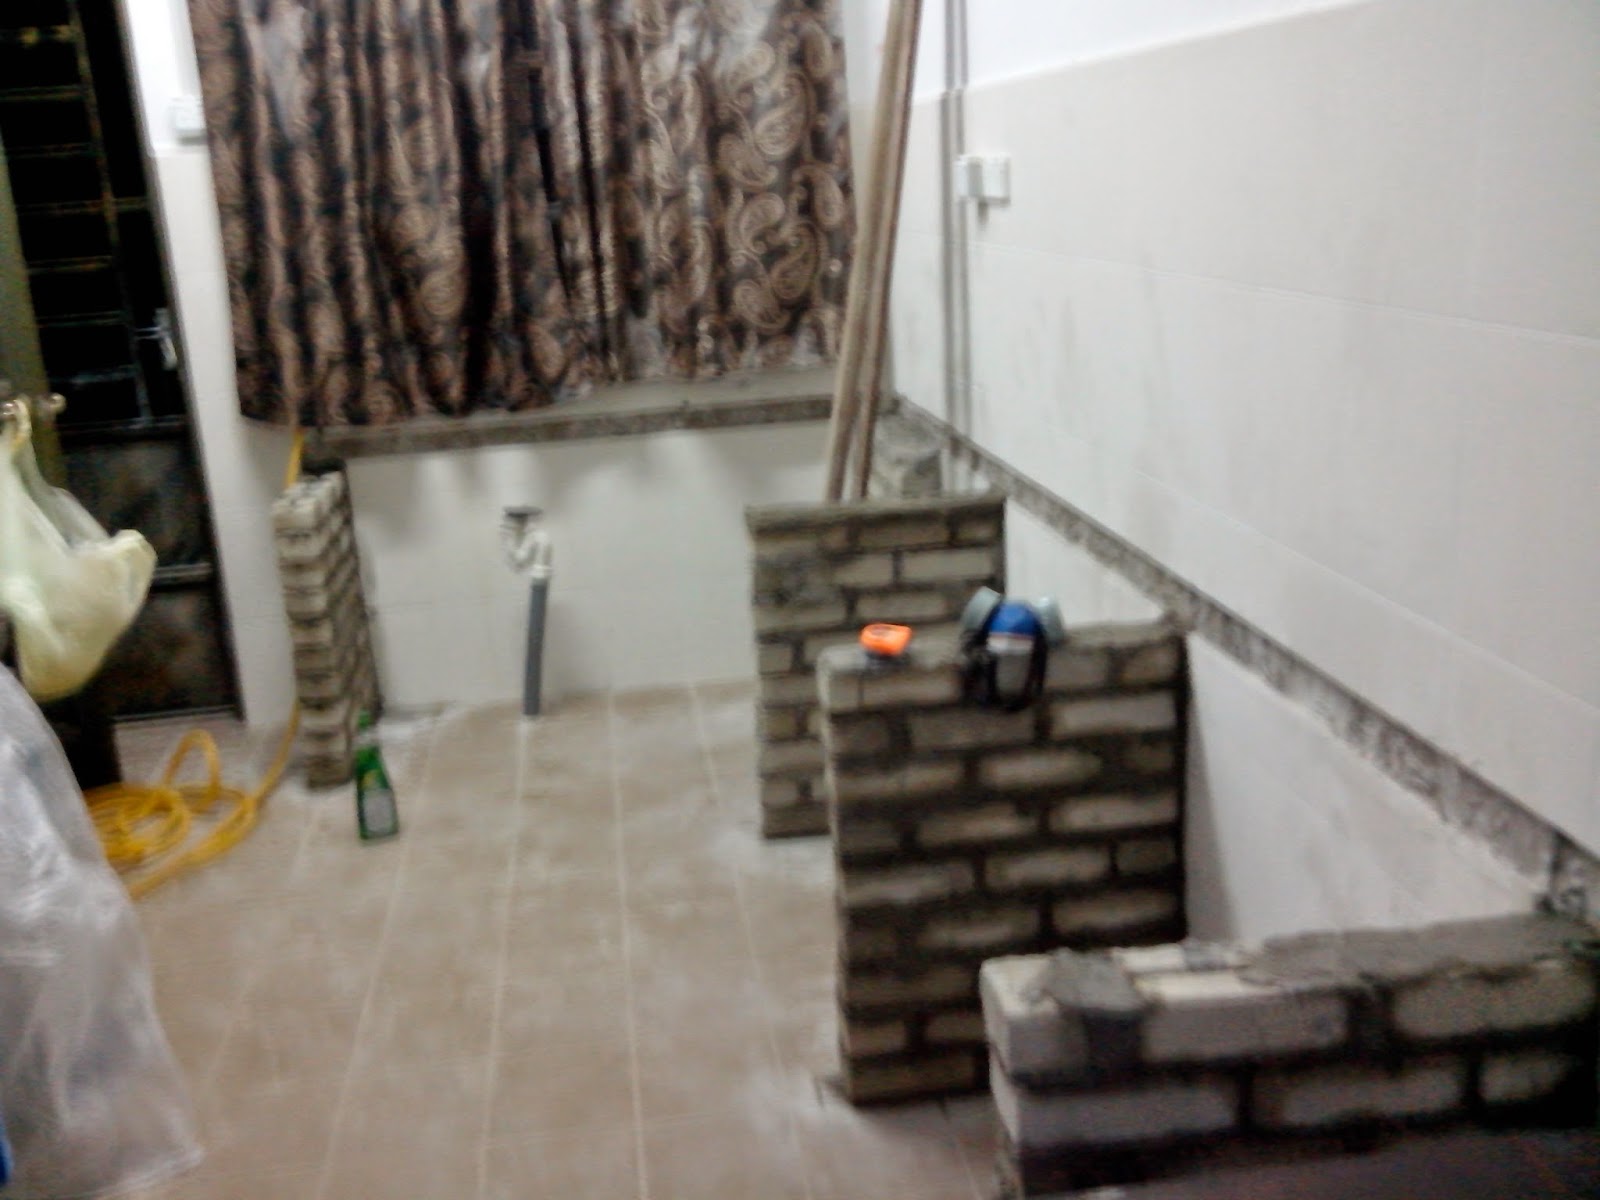
Proses mula-mula sekali marking, Ade orang kate tak payah hacking takpe tapi aku nak hack jugak sebab nak kasi kukuh.


Dan ni proses-proses hacking, letih woooo... pastu leceh satu, banyak debu.. (worthful experience)


Yang ni bancuh simen, ni dah biase buat sebab mase aku kecik2 ayah aku selalu ajar bancuh simen... cume sukatan je aku tanye En. Google, iaitu 1:3 (simen:pasir). Air secukup rase..


Yang atas-atas ni proses ikat bata. Jumlah masa yang diambil untuk ikat bata ialah 5-6 jam, maklumla ni first time ikat bata.. selama ni tgk org buat jer...


Yang nih proses pasang plywood untuk support simen, aku letak besi panjang pastu ikat ngan dawai, pastu aku pasang jaring... org kate besi yang aku pasang ni banyak sangat tapi takpelah sebab nak pakai sampai ke tua.

Gambar layer simen yang dah keras aku lupe nak amik or terlupe nak send kat laptop. Nanti kalu ade aku masukkan la...


Gambar table top yang baru siap....

Tile ni ptong pakai tile cutter, susah wooo nak potong tile 2 kaki, sebab die tebal dan mudah pecah senget bila pakai tile cutter. Ade teknik dia untuk pecah straight.


Ha, yang ni dah siap basuh cume belum letak filler je...

Drawer dan Pintu kabinet akan ku buat kendian kalo aku ade mase, bz sangat projek lain.

Ini link yang asal yang berkaitan dengan post DIY tabletop.

Kos semua barang RM1000 lebih kurang termasuk kos alat (Grinder +drill + tile cutter)... beli kat COWBOY murah.


Tuesday 8 April 2014

Projek siram pokok tanaman automatik

Haaa...
Ini projek baik punya... untuk siram sayur-sayur kat laman rumah aku incase aku cuti balik kampung seminggu... mau kering pokok sayur aku tu.. terutamanya pokok serai aku... Ni ade skit video pasal barang yang aku nak gunakan (SOLENOID 12V + RELAY + POWER SUPPLY) untuk projek tersebut.. hehehhe.. actually dah test dah skit..
Nanti kalau setel nanti aku update barangannya beserta pokok2 sayur aku tuh..

Pastu, masukkan alat nih, boleh cover banyak area cume kene control pressure je nanti

So, nanti nak kene beli paip, socket untuk attach kat kawasan penyiraman... Perlu guna Arduino + RTC clock module untuk siram waktu pagi (7:00) dan waktu petang (6:00). Untuk aplikasi ni, aku rase pro mini dah cukup... Kalau nak lagi best, pakai solar panel, memang green lah... eheheheeheh.. RTC aku ade jual, nanti stok sampai... Kalau nak jimat duit, guna adapter power supply 12V pon dah cukup. Pastu untuk masuk ke arduino, guna LM7805 + 2 x 10uf electrolytic capacitor untuk dapatka output 5V. LM7805 memang accurate sgt sebab aku measure guna multimeter, output 5V exactly kalau power supply dalam range 7-16 Volt. Tapi untuk SOLENOID 12V, boleh tap 12V dari power supply ke RELAY dan terus ke SOLENOID. RELAY Perlu untuk ON kan SOLENOID VALVE pada trigger tertentu bergantung kepada code. Sama ada nak GUNA RTC atau MANUAL TRIGGER pon boleh (Guna PUSHBUTTON) atau SOIL MOISTURE SENSOR.

Bagi aku, lagi elok guna RTC dari guna SOIL MOISTURE sebab kalau SOIL MOISTURE detector tu trigger waktu tengah hari, mau mati pokok aku tu ( Info untuk yang tak tau : Pokok sayur boleh Melecur/Mati jika disiram waktu panas/tengahhari). Combine RTC dengan Soil MOISTURE lagi bagus tapi bergantung kepada modal korang..